Android Configuration
Estimated reading: 2 minutes
Setting up Android for your Vizion AI Project
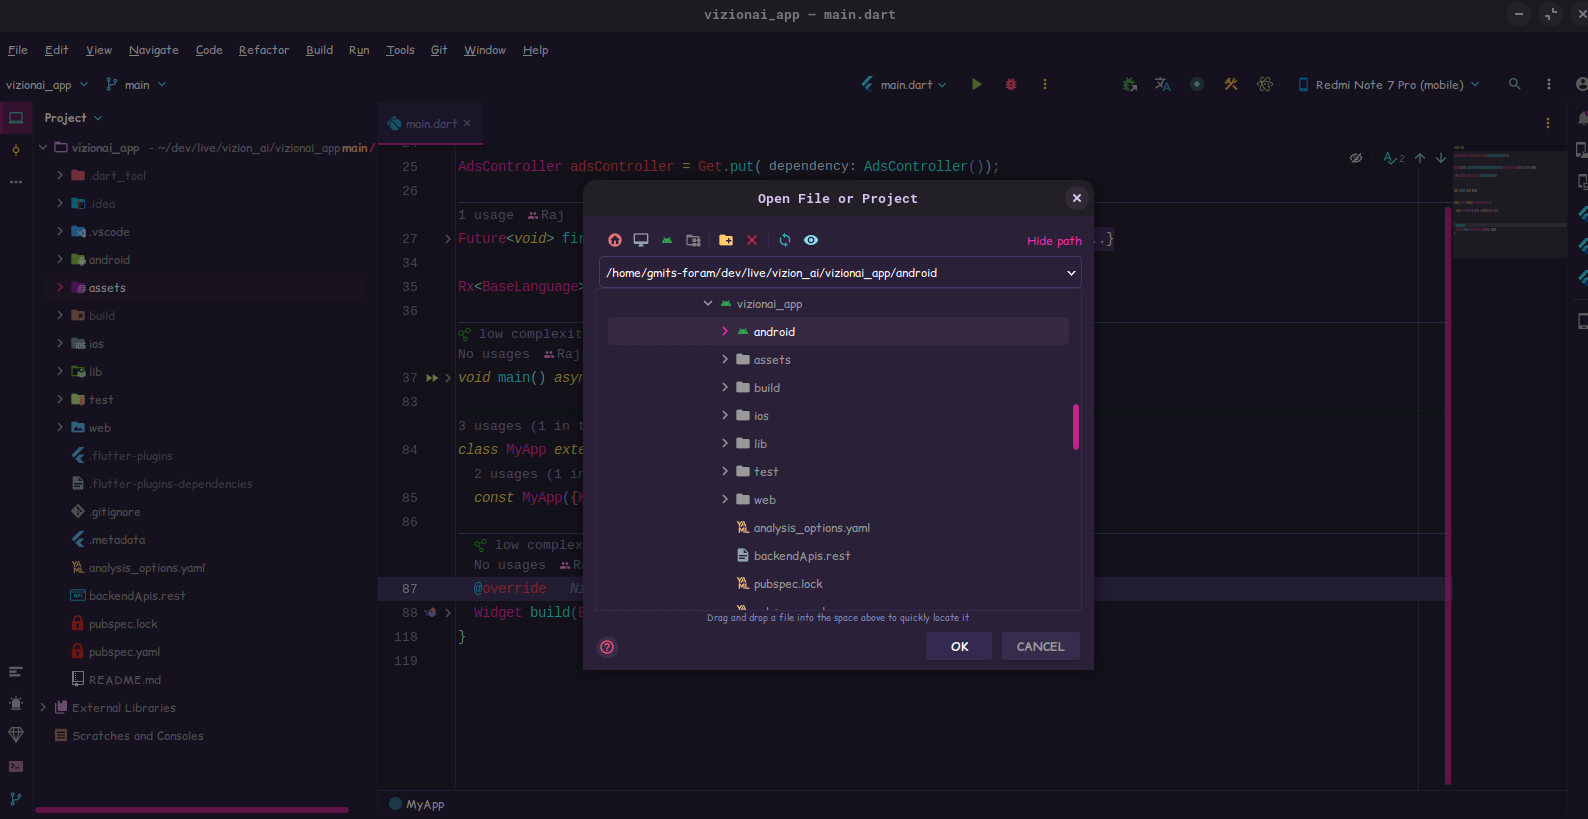
Open Android Module
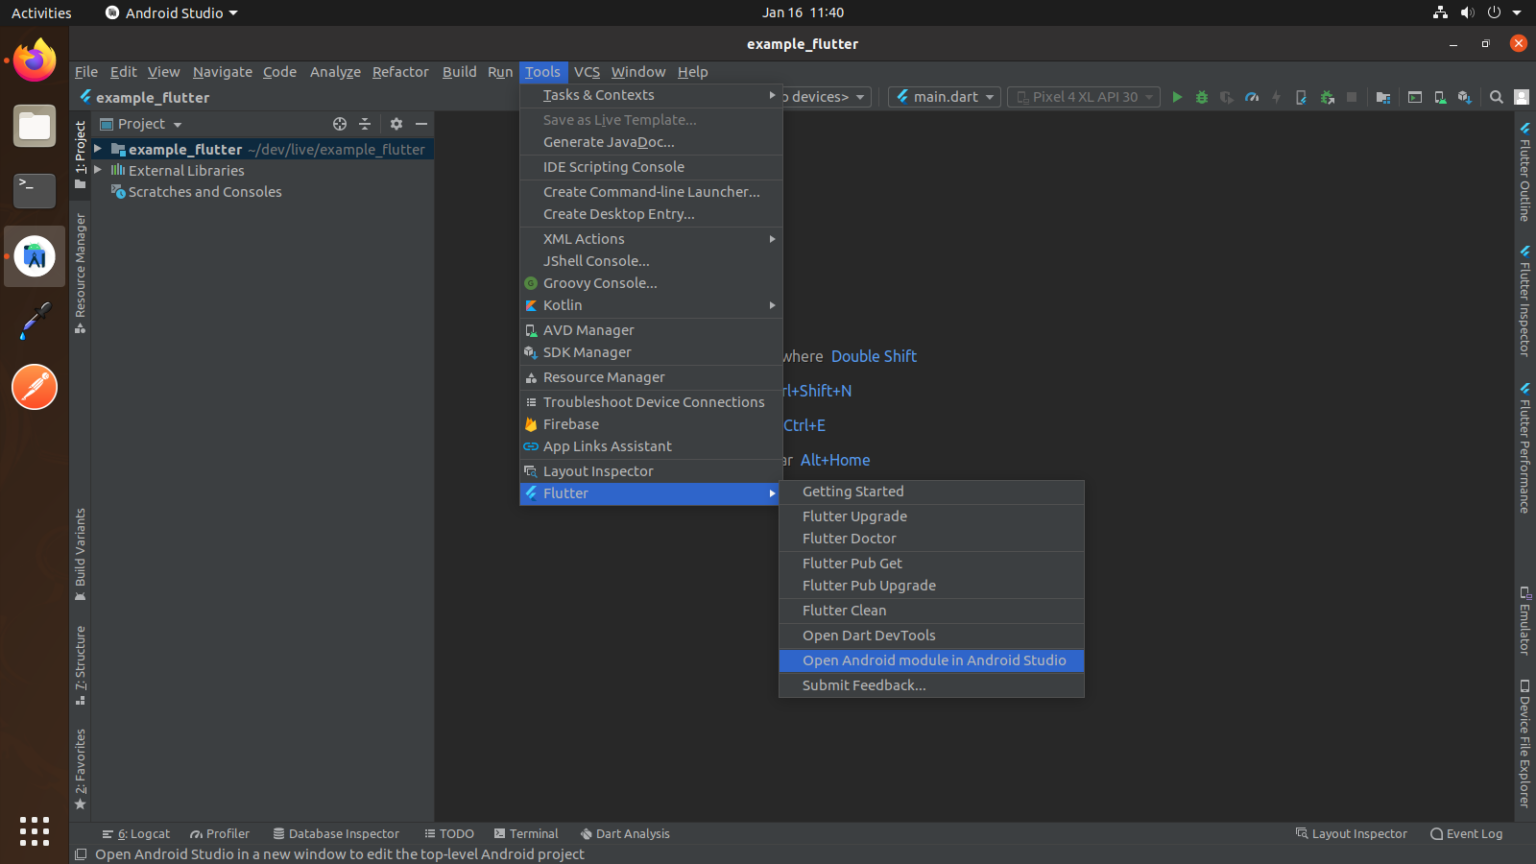
- The Android module can be accessed in Two ways:
Select the Android Module from the same project you're attempting to open by going to File → Open
Navigate to Tools → Flutter → Android Studio → Open Android Module.
Change The Application Id
Every Android app has a unique application ID that looks like a Java package name, such as com.example.myapp. This ID uniquely identifies your app on the
device and in the Google Play Store. Once you publish your app, you should never change the Application ID.
For Application ID, change the applicationId in the app/build.gradle file at the app level.
Locate the build.gradle file at this path - android/app/build.gradle.
   defaultConfig {
      applicationId "YOUR_PACKAGE_NAME"
      minSdkVersion 21
      targetSdkVersion 31
      versionCode 1
      versionName "1.0.0"
      testInstrumentationRunner "android.support.test.runner.AndroidJUnitRunner"
   }
Change The Version Name
The version name is a string value that represents the "friendly" version name displayed to the users. The version name is displayed to the user.
For Version Name, change the versionName in the build.gradle file at the app level.
Locate the build.gradle file at this path - android/app/build.gradle.
   defaultConfig {
     applicationId "com.iqonic.example"
     minSdkVersion 21
     targetSdkVersion 31
     versionCode 1
     versionName "CHANGE_THE_VERSION_NAME"
     testInstrumentationRunner "android.support.test.runner.AndroidJUnitRunner"
   }
Change The Version Code
The version code is an incremental integer value that represents the version of the application code. The version code is used by the Google Play Store for
new updates. If you increase the version code, the update will be visible to all users.
For Version Code, change the versionCode in the build.gradle file at the app level.
Locate the build.gradle file at this path: android/app/build.gradle.
   defaultConfig {
     applicationId "com.iqonic.example"
     minSdkVersion 21
     targetSdkVersion 31
     versionCode CHANGE_VERSION_CODE
     versionName "1.0.0"
     testInstrumentationRunner "android.support.test.runner.AndroidJUnitRunner"
   }
Change The App Name From Manifest File
To change the name of your Android application in Android Studio, you have to change the value
of the property android:label defined inside the <application> block in AndroidManifest.xml.
   <application
    android:label="YOUR_APP_NAME">
</application>
Change The App Icon
Android Studio includes a tool called Image Asset Studio that helps you generate your own app icons from material icons, custom images, and text strings. It generates a set of icons at the appropriate resolution for each pixel density that your app supports. Image Asset Studio places the newly generated icons in density-specific folders under the res/ directory in your project. At runtime, Android uses the appropriate resource based on the screen density of the device your app is running on.
Image Asset Studio helps you generate the following icon types:
- Launcher icons Adaptive & Legacy
- Legacy Launcher Icon
- Action bar and Tab Icons
- Notification icons
- Tv Banner
- Tv Channel Icon
For More Details You can checkout Android Studio Editor Guide for creating Android Icons.
Generate Icon Process
Configure Image Asset
- Choose Icon type
- Set Icon Name
- Choose Asset Type
- Customize Icon (Resize , Trim , Padding)
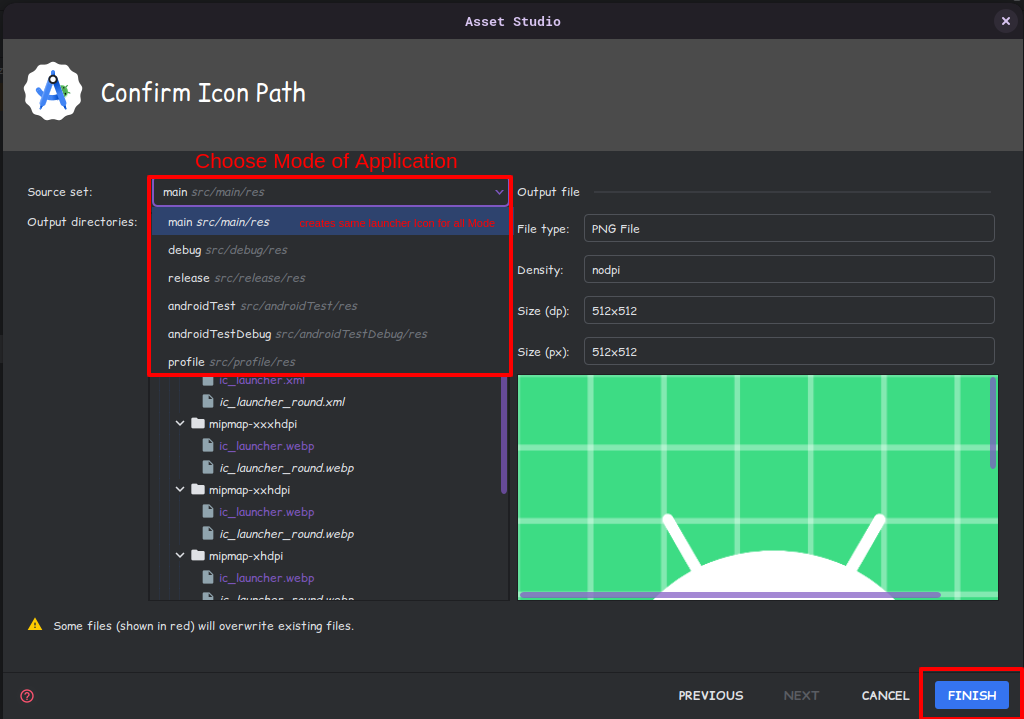
Confirm Icon Path
- Choose Mode for Icon
- Finish
Generate App Launcher Icon
Method 1 : Use Android Studio To Generate Launcher Icons
Go to
android/app/src/main/resfolder.Right-click on the
resfolder and selectNew → Image Asset.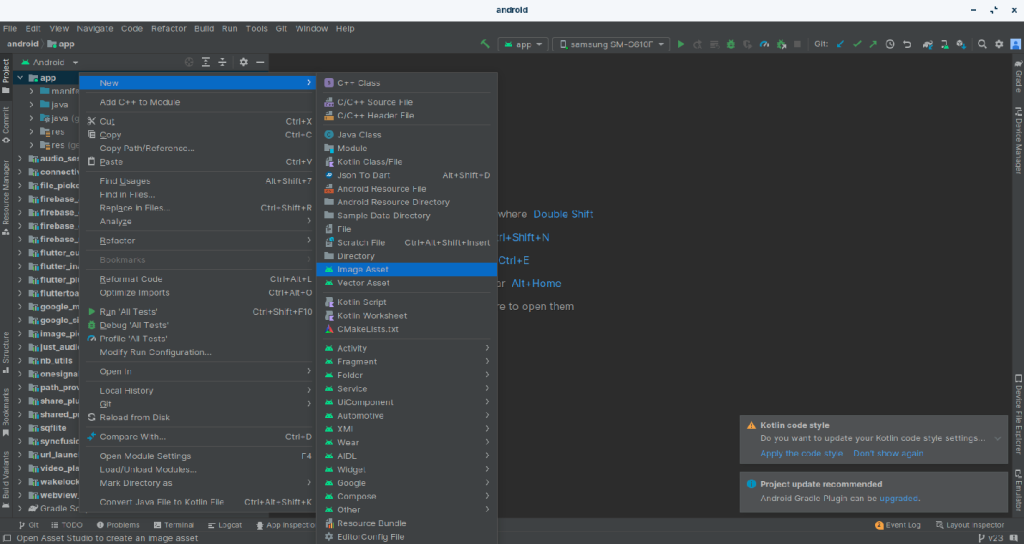
Foreground Layer : The foreground layer is the primary part of the icon that contains the main visual elements. It's the layer that the user selects the source asset for, which can be an image, clip art or text.
Background Layer : The background layer is the area behind the foreground layer. It can be used to add a background color or image element to the icon. If you don't want green background for laucher Icon then set background layer suitable to your Launcher Icon.
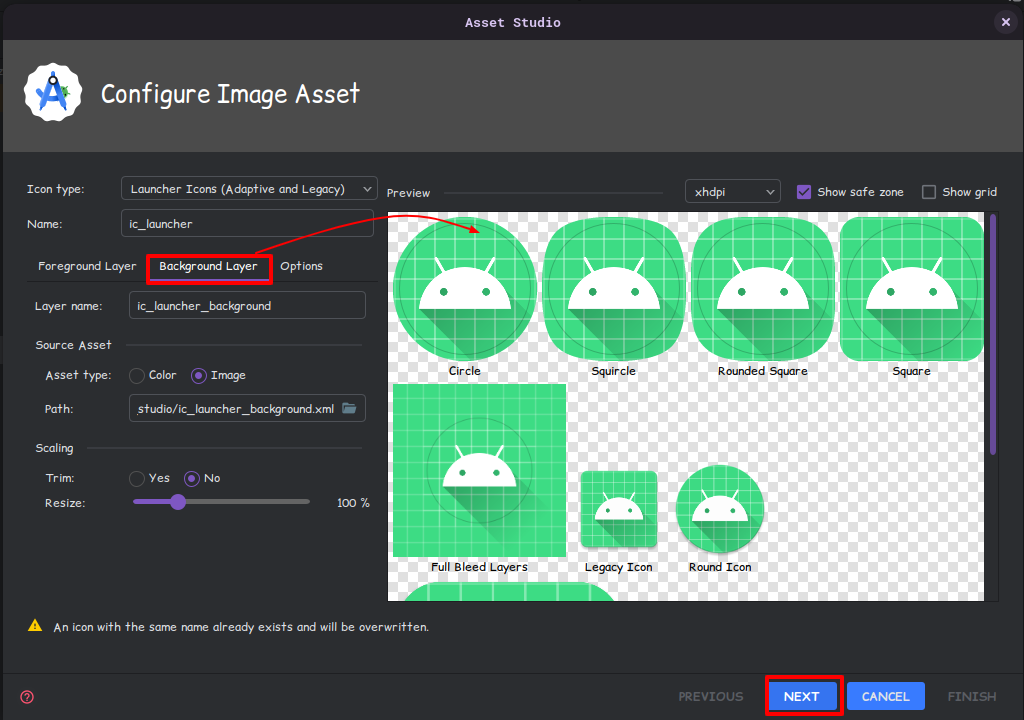
Choose Icon Type
Select the path of your Image and press Next.
Select App mode for app Icon.
Then Press Finish.
Method 2 : Generate Online
The basic process of this website is -
- Choose Asset type
- Basic Configuration
- Choose Device Type
- Generate and Get the Zip
- After extracting zip you get res folder replace it with your android/app/src/main – res folder
Add Google JSON File
As part of enabling Google APIs or Firebase services in your Android application, you need to set up Firebase and download the Google JSON file.
Click Here to set up Firebase and download the Google JSON file.
Change the Google AdMob App ID in AndroidManifest.xml
<meta-data
    android:name="com.google.android.gms.ads.APPLICATION_ID"
    android:value="GOOGLE_ADMOB_APP_ID" />
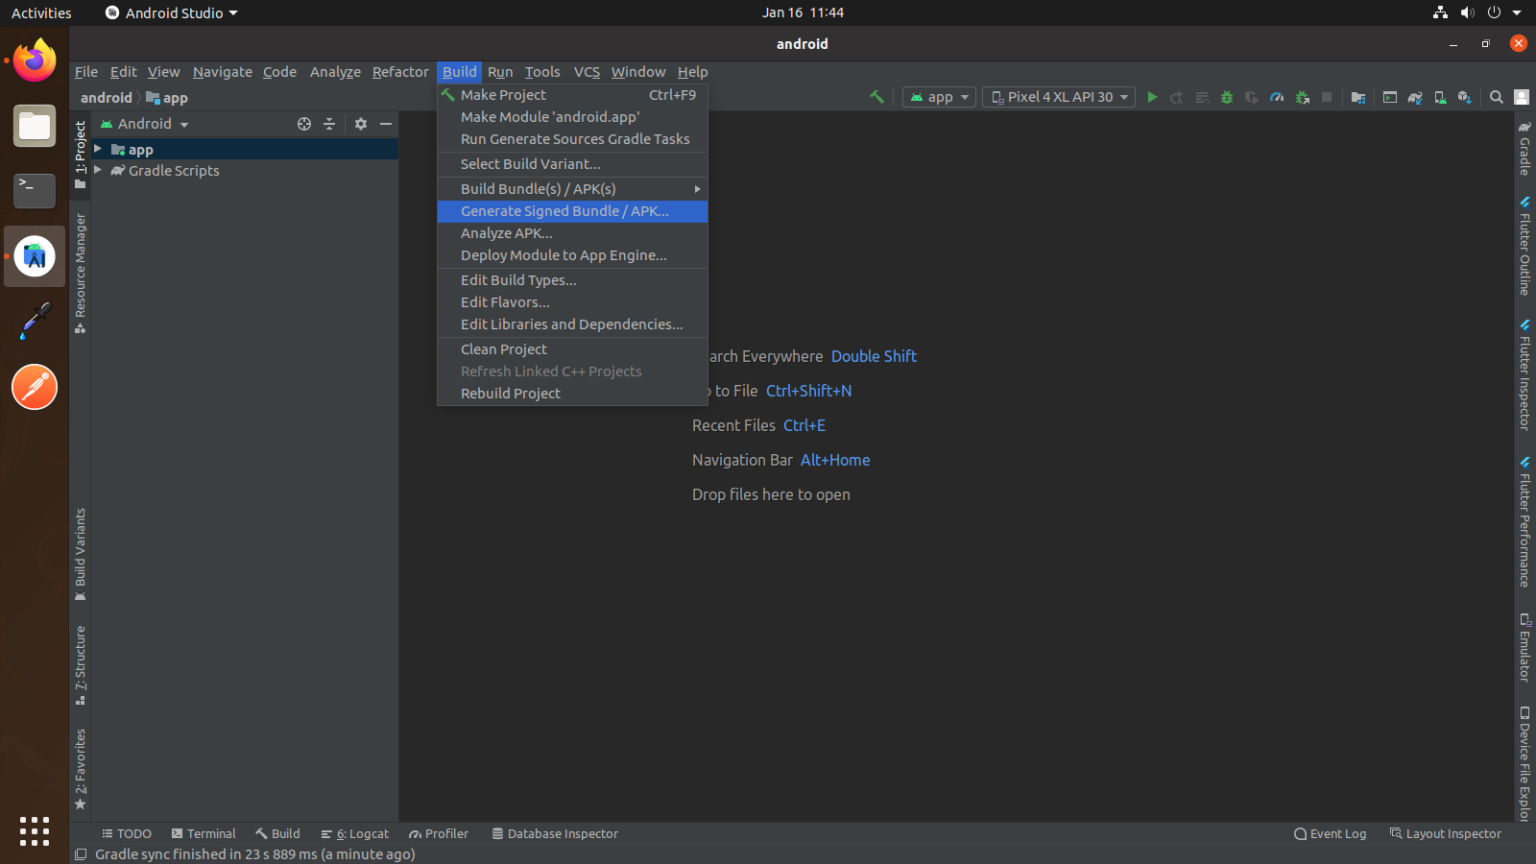
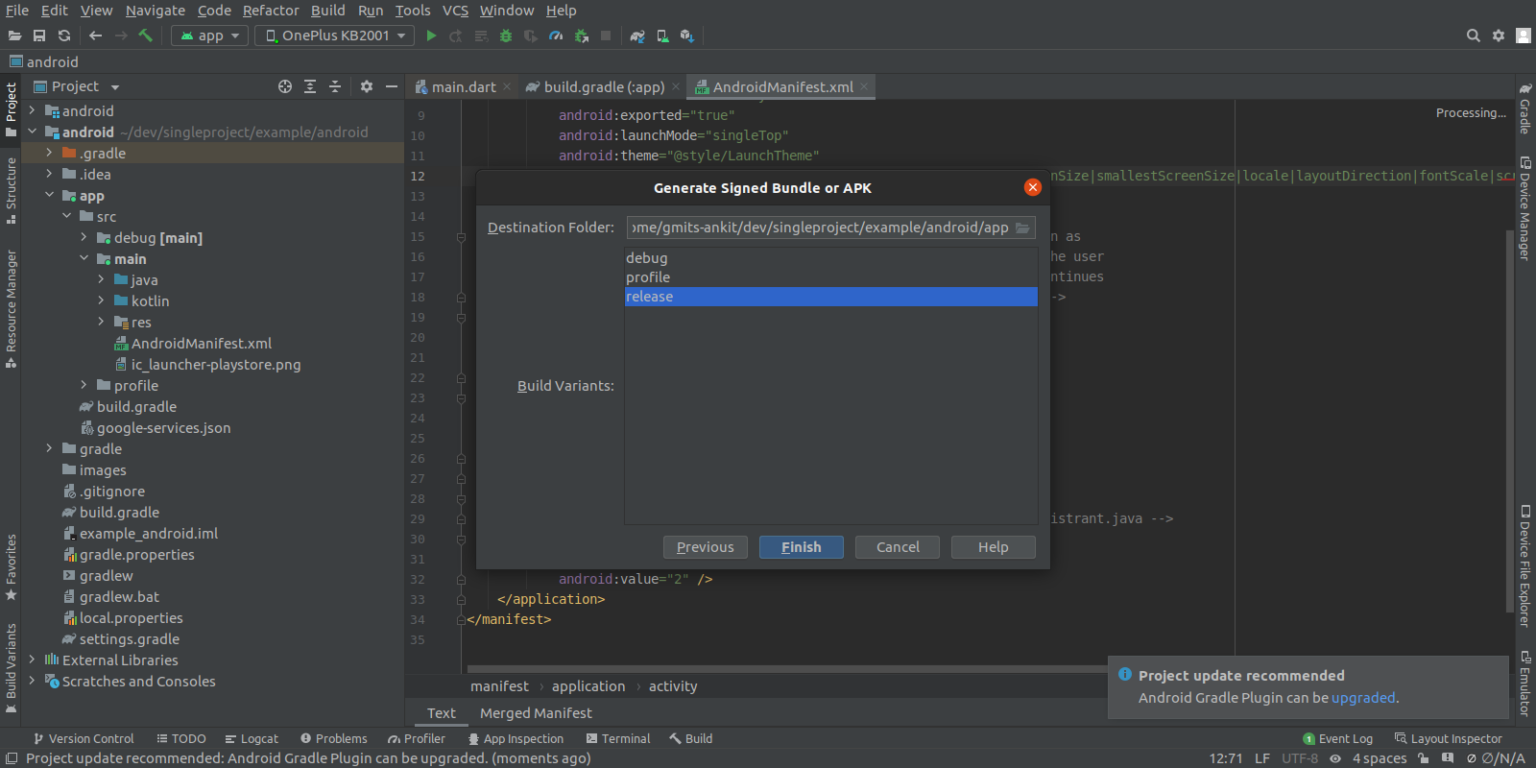
Generate Signed APK
To generate a signed APK (Android Package), follow these steps:
Open the build menu and Select Generate Signed Bundle/APK.
Choose APK and click Next.
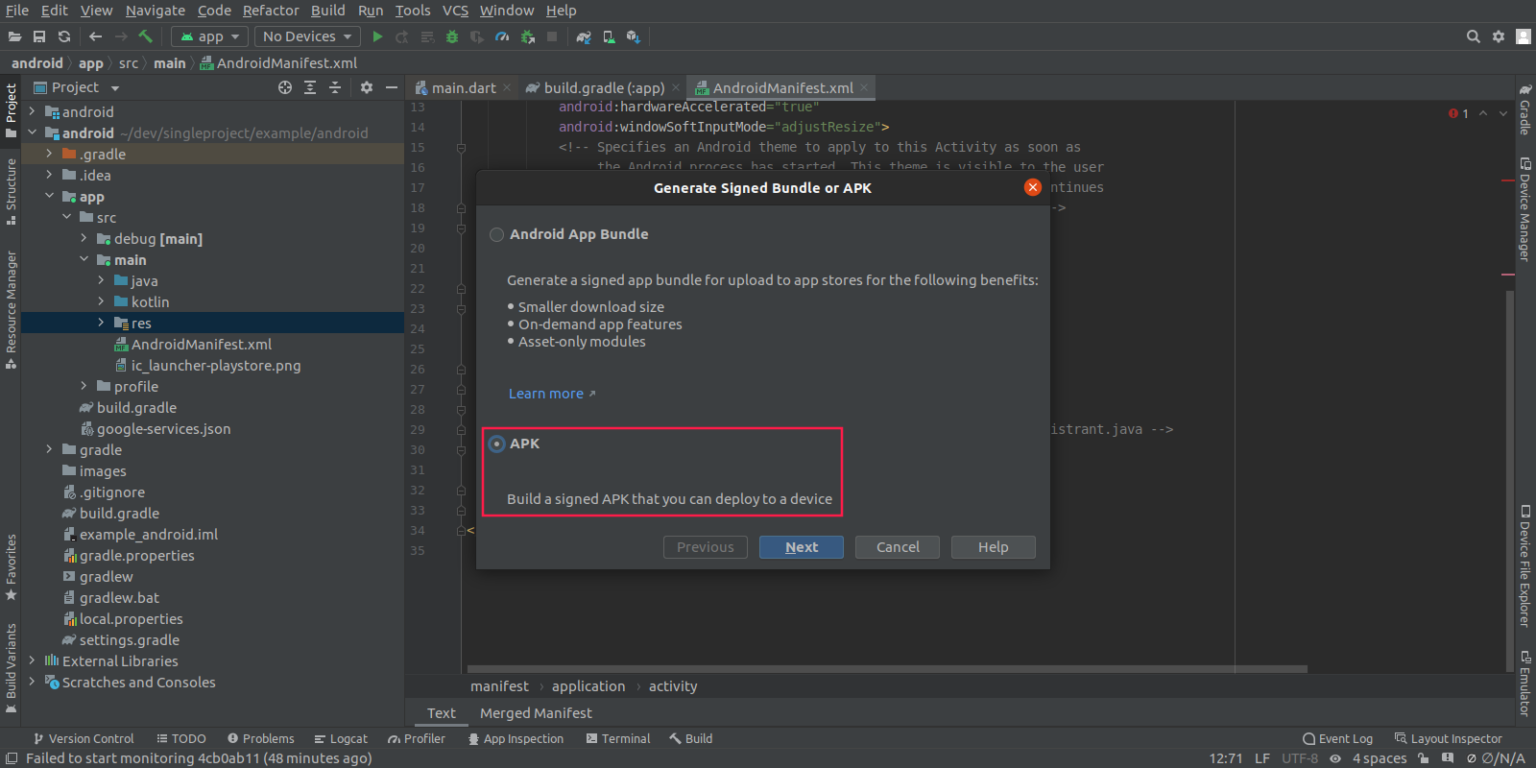
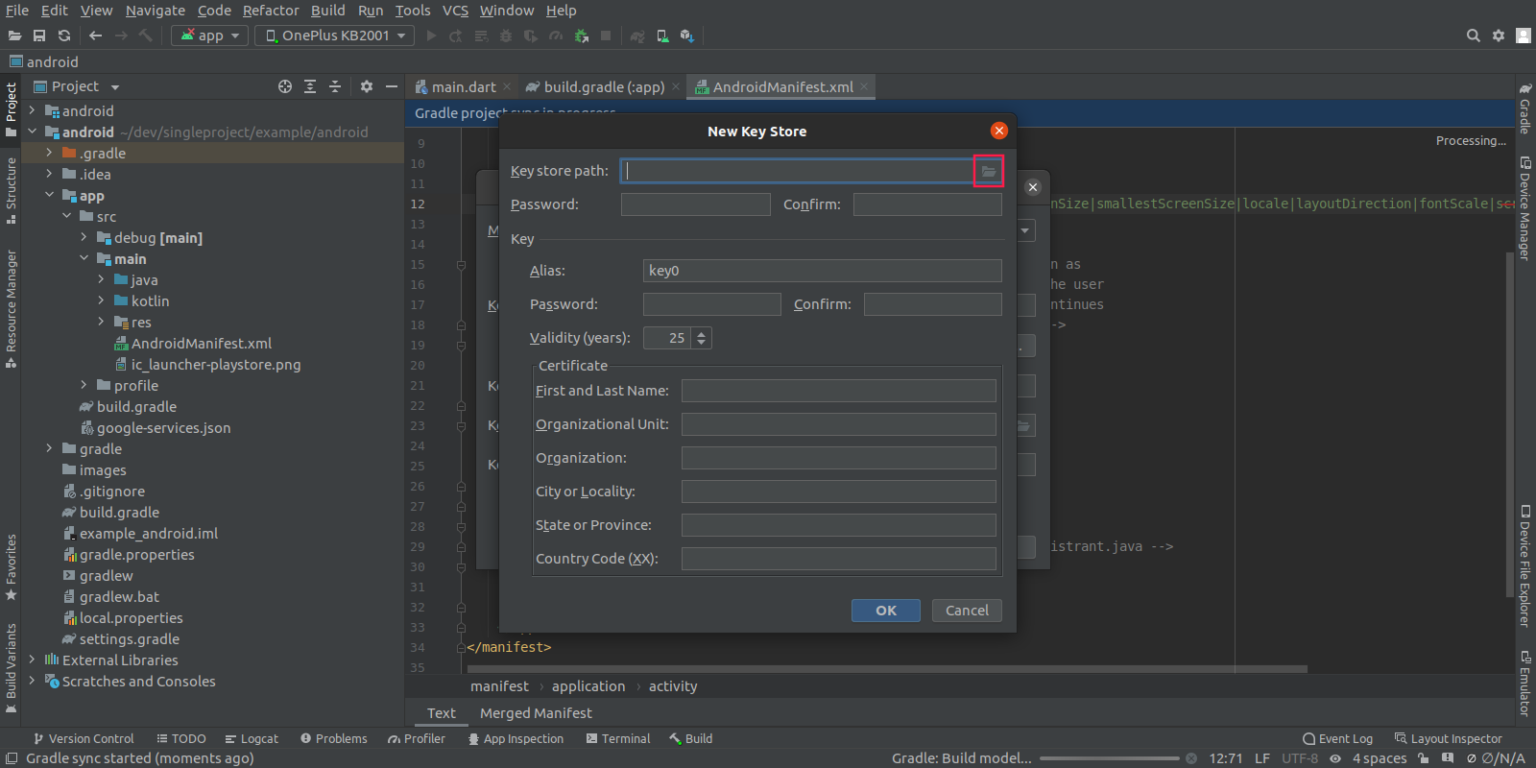
Now you will have two options create a new Keystore or choose existing keystore.
- If you don't have jks file then follow the steps mentioned in document here
If you choose to use an existing keystore, simply select it.

After selecting your keystore or creating a new one, click Next.
Choose the release mode and proceed with building the APK.
If you intend to publish your app on the Google Play Store, you will need the AAB (Android App Bundle) format. To create an AAB, follow the same steps mentioned above, but in step 2, select the AAB option instead of APK.
Great! You have successfully configured the Android Module!